How to Force Users to Upgrade an Expo App in 2026
Introduction
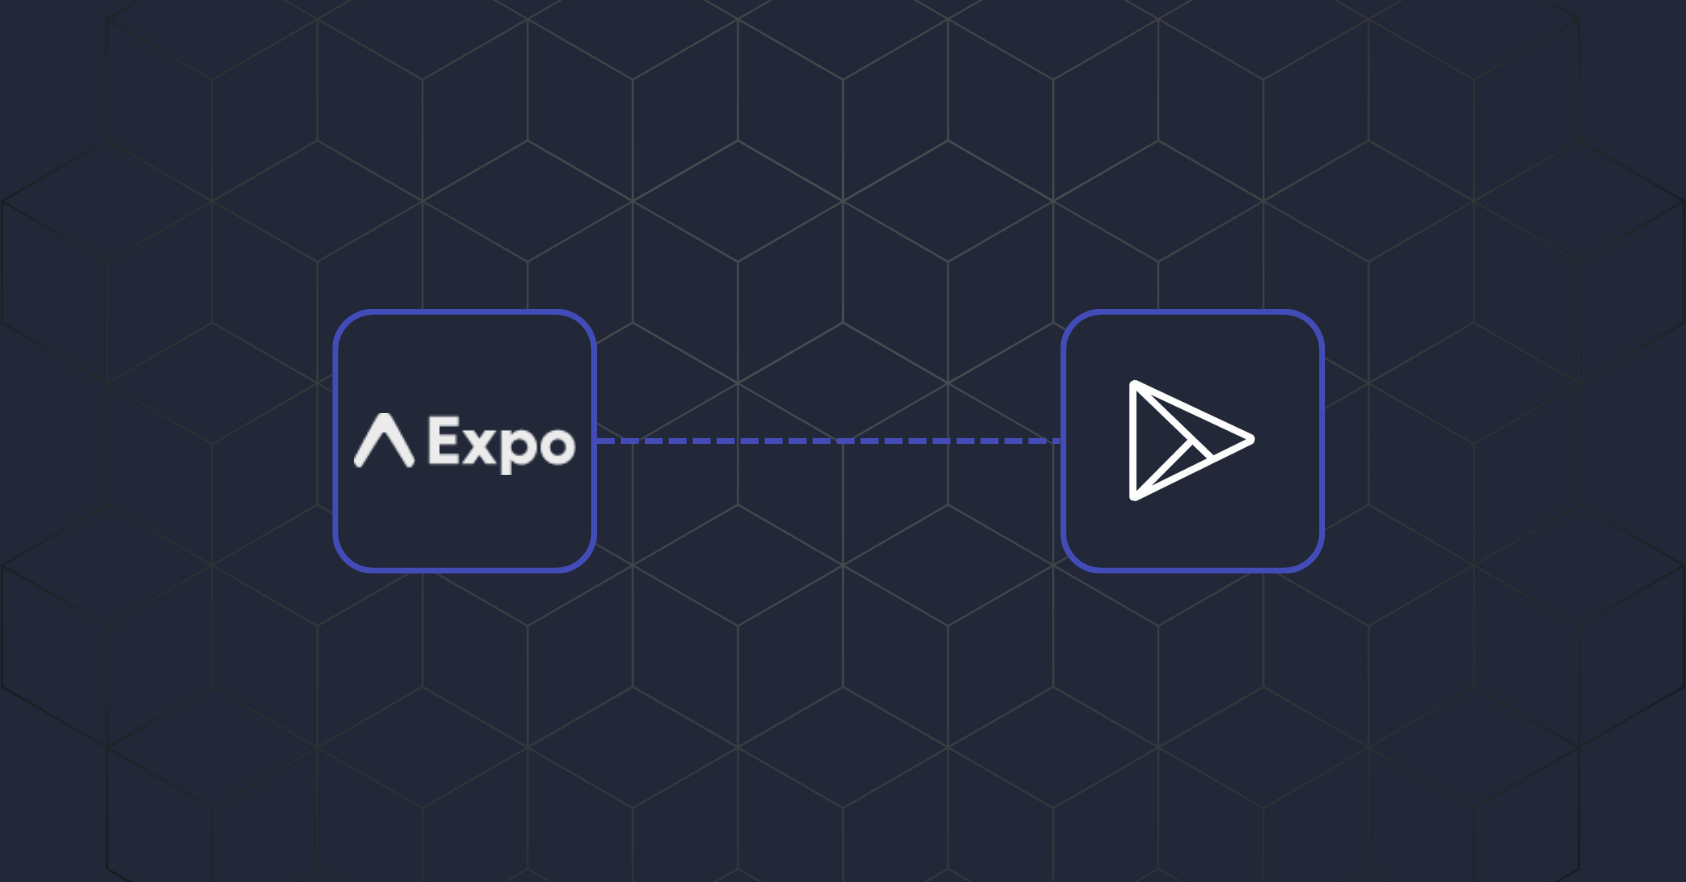
If you’re building a mobile app in Expo, forcing users to upgrade to the latest version can be critical for ensuring security, performance, and feature parity. In this guide, we’ll walk through how to implement forced app upgrades in a Expo app using App Upgrade.
1. Sign up/sign in with App Upgrade:
First, sign up for App Upgrade. Head to Sign in, or create an account at Sign up if you do not have one yet.
2. Create Project
Project is a high-level term used in App Upgrade. Project is an umbrella that you will be using to manage the versions of your app. After signing up and logging in to App Upgrade, you will be welcomed with the following screen.
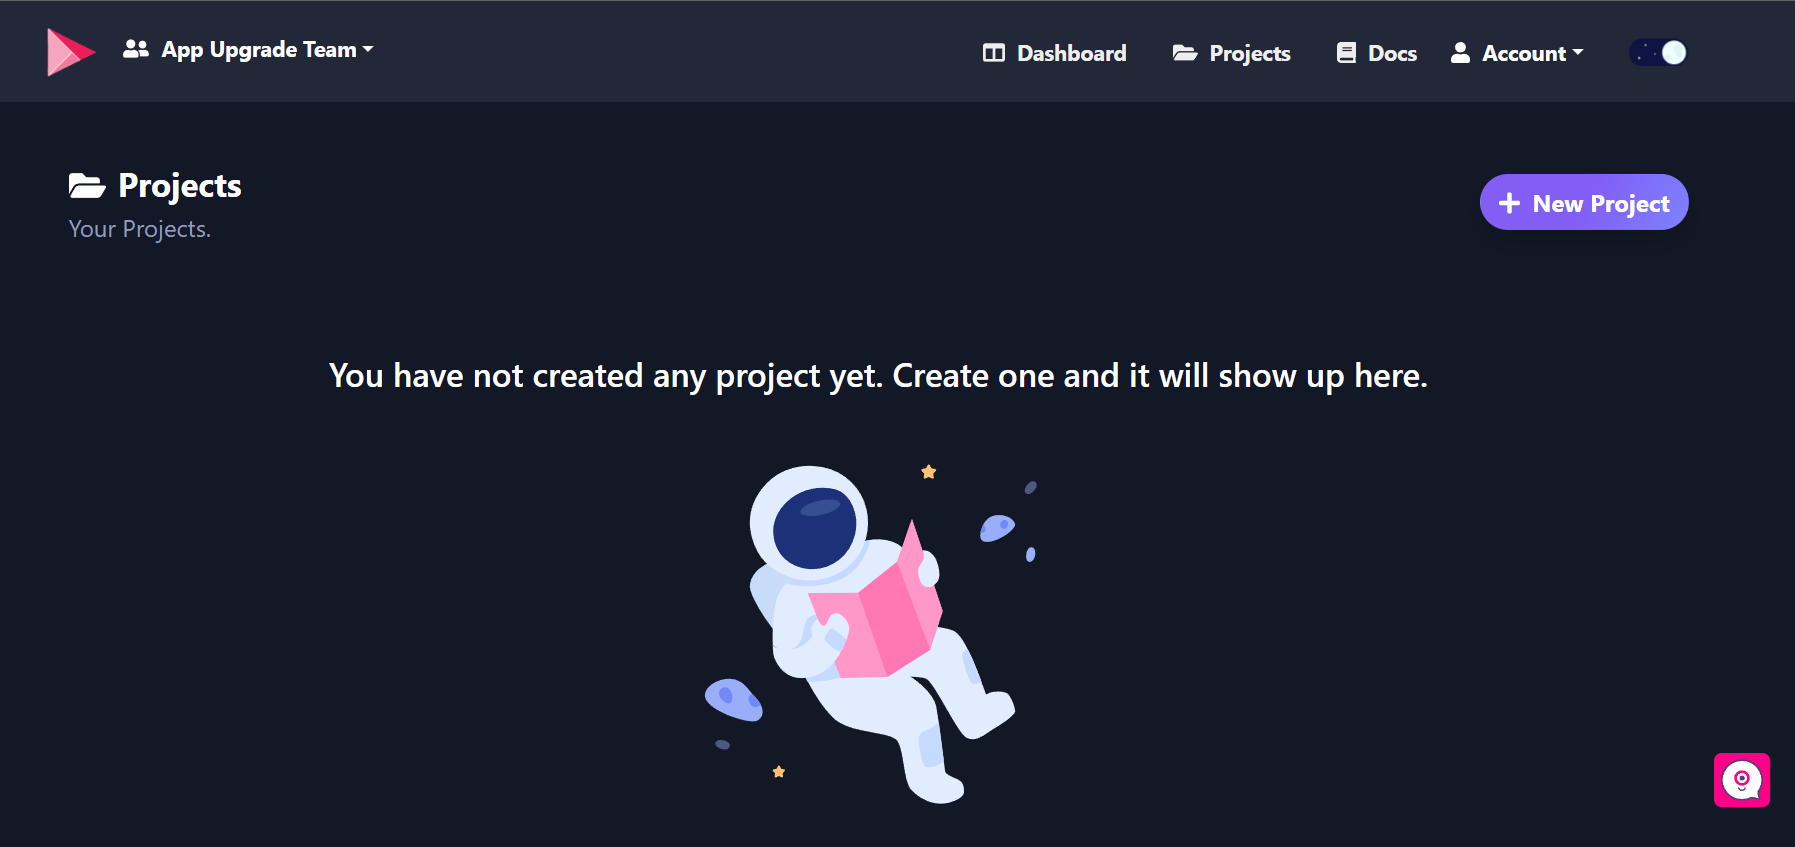
Click on the +New Project button to create a new project. Provide a proper Name and Description for your project.
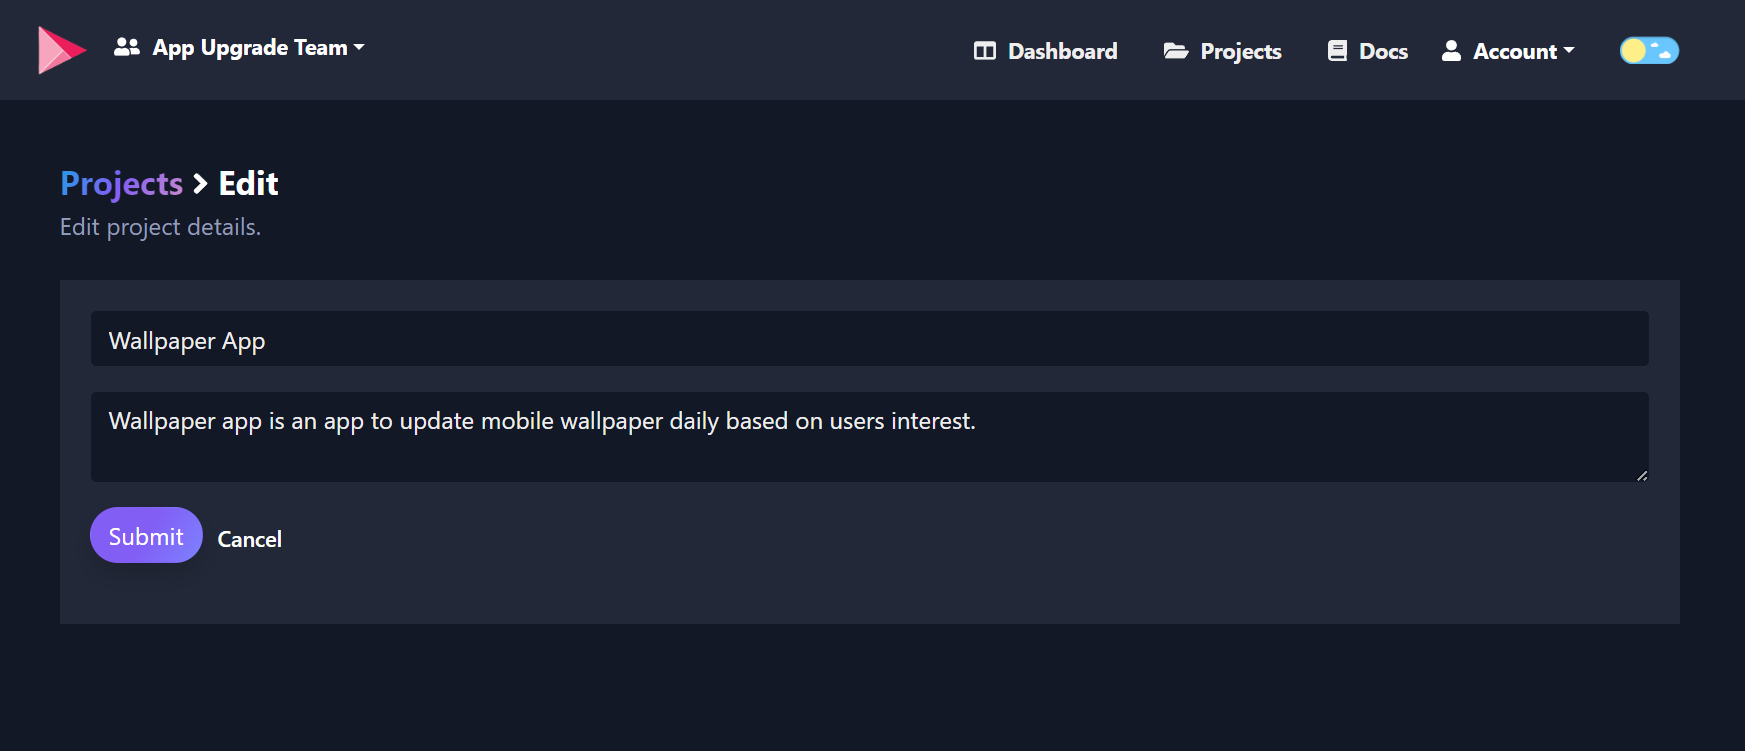
Click on Submit button and the project will be created.
3. Obtain the API Key:
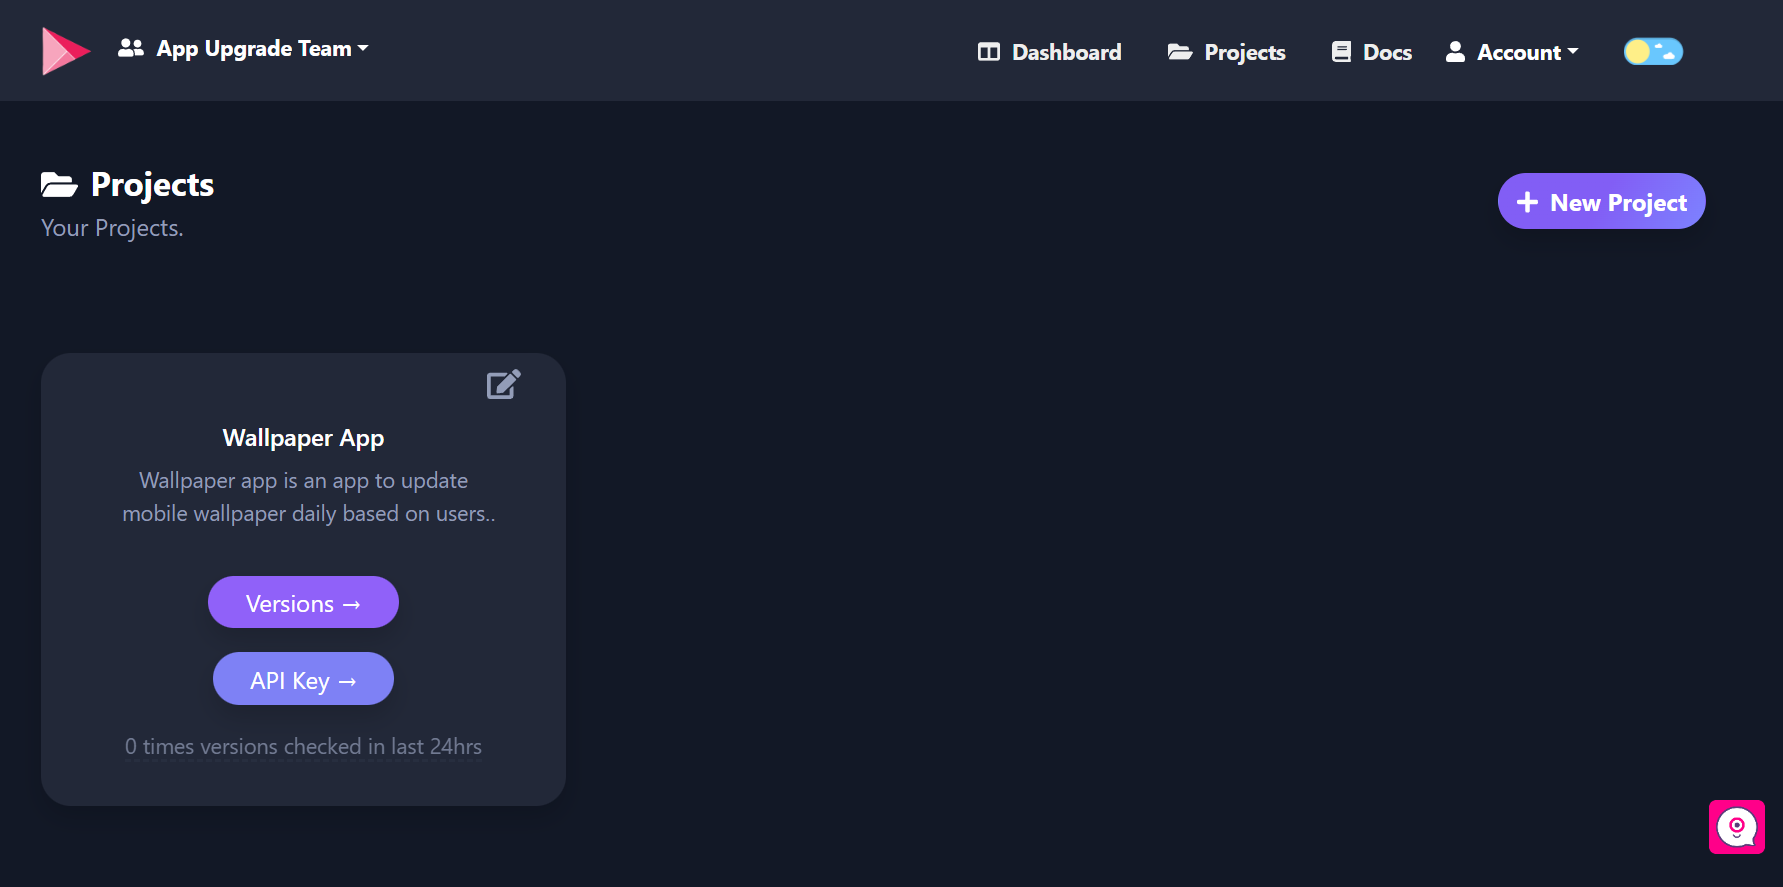
Click on the API Key button inside the project card, and you will see the API key for your project.
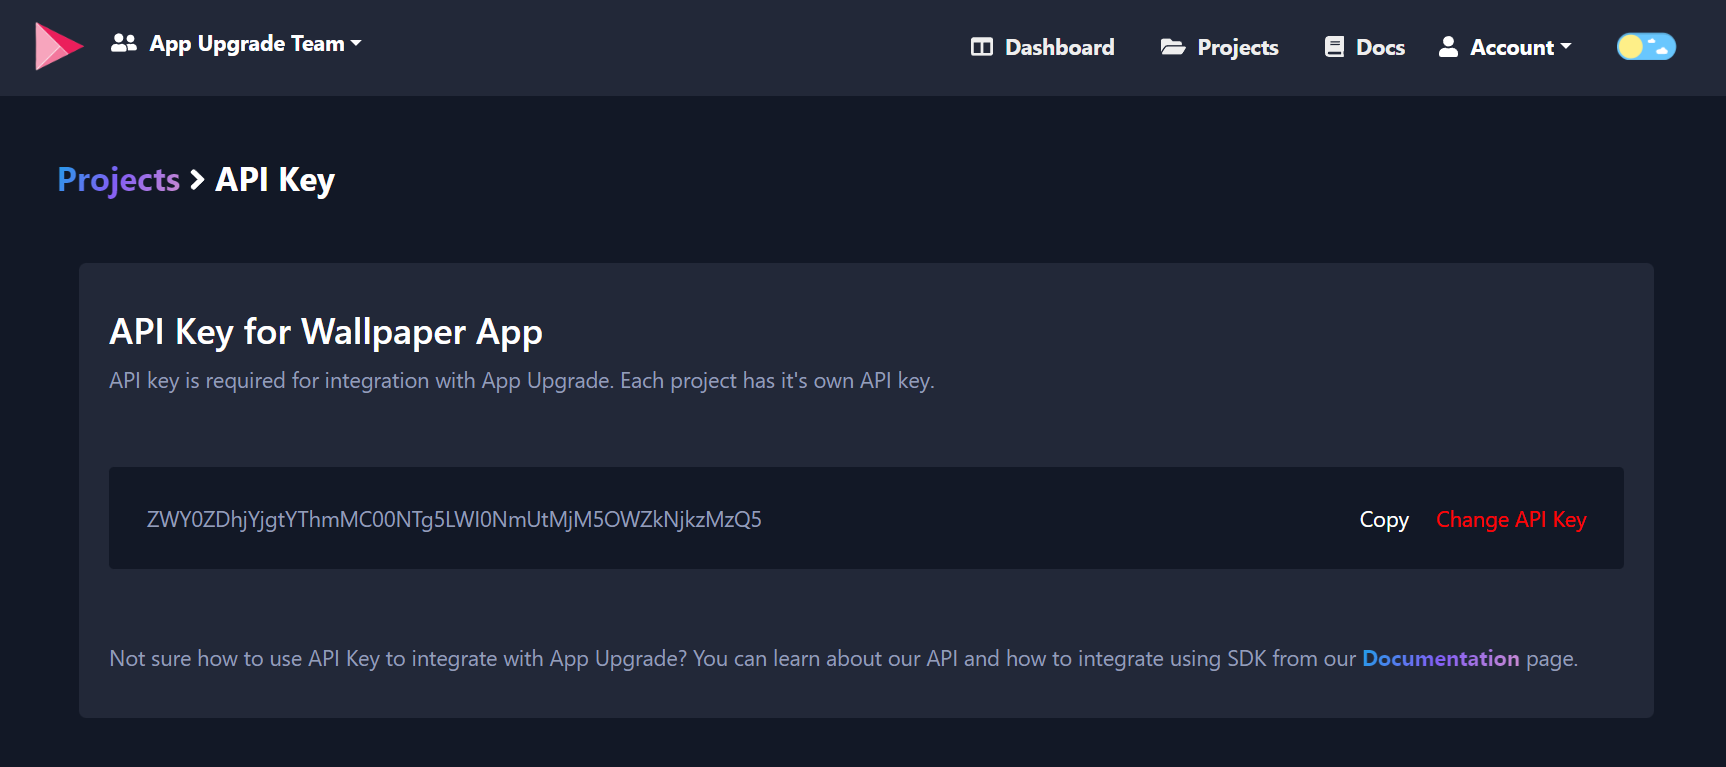
Copy the API key we will need it later.
4. Integrate SDK with Expo App:
Alright, now it's time for some coding. Let's start with installing the App Upgrade Expo SDK. Run the following command to install the SDK.
expo install app-upgrade-react-native-sdk
or install via npm.
npm i app-upgrade-react-native-sdk --save
Import the package and use it.
import {appUpgradeVersionCheck} from 'app-upgrade-react-native-sdk';

.....

export default function App() {
  const xApiKey = "MDNmNmZkNDEtNmNkMi00NzY3LThjOWEtYWYxMGFjZWQ0ZjI2"; // Your project key
  const appInfo = {
    appId: 'com.android.com' or '1549468967', // Your app id in Google Play Store or App Store
    appName: 'Wallpaper app', // Your app name
    appVersion: '1.0.0', // Your app version
    platform: 'android', // App Platform, android or ios
    environment: 'production', // App Environment, production, development
    appLanguage: 'es', // App Language ex: es, en
  };

  // Alert config is optional
  const alertConfig = {
    title: 'Please Update',
    updateButtonTitle: 'Update Now',
    laterButtonTitle: 'Later',
    onDismissCallback: () => { console.log('Dismiss') },
    onLaterCallback: () => { console.log('Later') }
  };

  appUpgradeVersionCheck(appInfo, xApiKey, alertConfig);

  return (
    <View style={styles.container}>
      <Text>Open up App.js to start working on your app!</Text>
      <StatusBar style="auto" />
    </View>
  );
}
Let's look into the app info parameters:
- appId: App Id of your app. Know how to find appId for your app.
- appName: Your app name.
- appVersion: Current version of your app.
- platform: This could be android or ios
- environment: This could be for example development, int, production
- appLanguage: This is your app language. Example: en, es etc. This will be used to localize the update message.
Optional Fields: If you want users to redirect to store other than App Store or Google Play Store. You can add these additional parameters in appInfo
- preferredAndroidMarket: PreferredAndroidMarket.AMAZON // or PreferredAndroidMarket.HUAWEI or PreferredAndroidMarket.OTHER If not provided default is Google Play Store.
If you want to redirect users to some other Android marketplace you can add the following fields:
- preferredAndroidMarket: PreferredAndroidMarket.OTHER
- otherAndroidMarketUrl: 'https://someotherandroidmarket.com/app/id'// Required if preferredAndroidMarket is Other.
Read more about customization from SDK readme.
5. Testing Integration
Now once we are done with the integration it's time to test whether integration works or not that is if the upgrade alert popup is showing up or not. For testing this out we will need to create a version entry.
6. Create Version
Go to Projects and click on the Versions button, and click on the +New Version button.
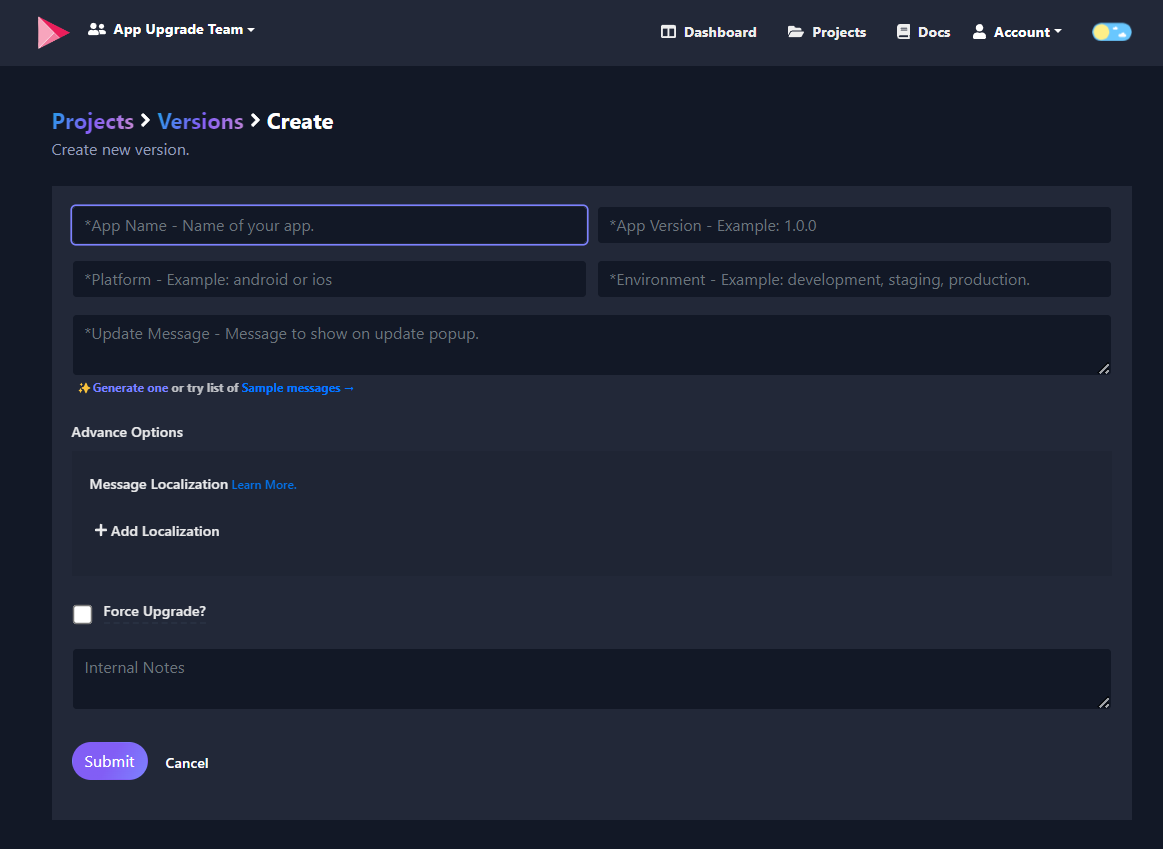
Provide the following details:
- App Name: Name of the App
- App Version: Version of the app you want to mark for the update. For example, 1.0.0 // This is the version you want the user to force upgrade to a newer version.
- Platform: App platform example: android or iOS
- Environment: The environment in which the app is running example: development, staging, or production
- Message: An optional message which you want to show to the user when the user will be alerted of the force update.
- Force upgrade: Boolean flag if selected means this is going to be a forced upgrade. If not selected indicates it's not a forced upgrade.
After providing the value click on Submit button and version will be created.
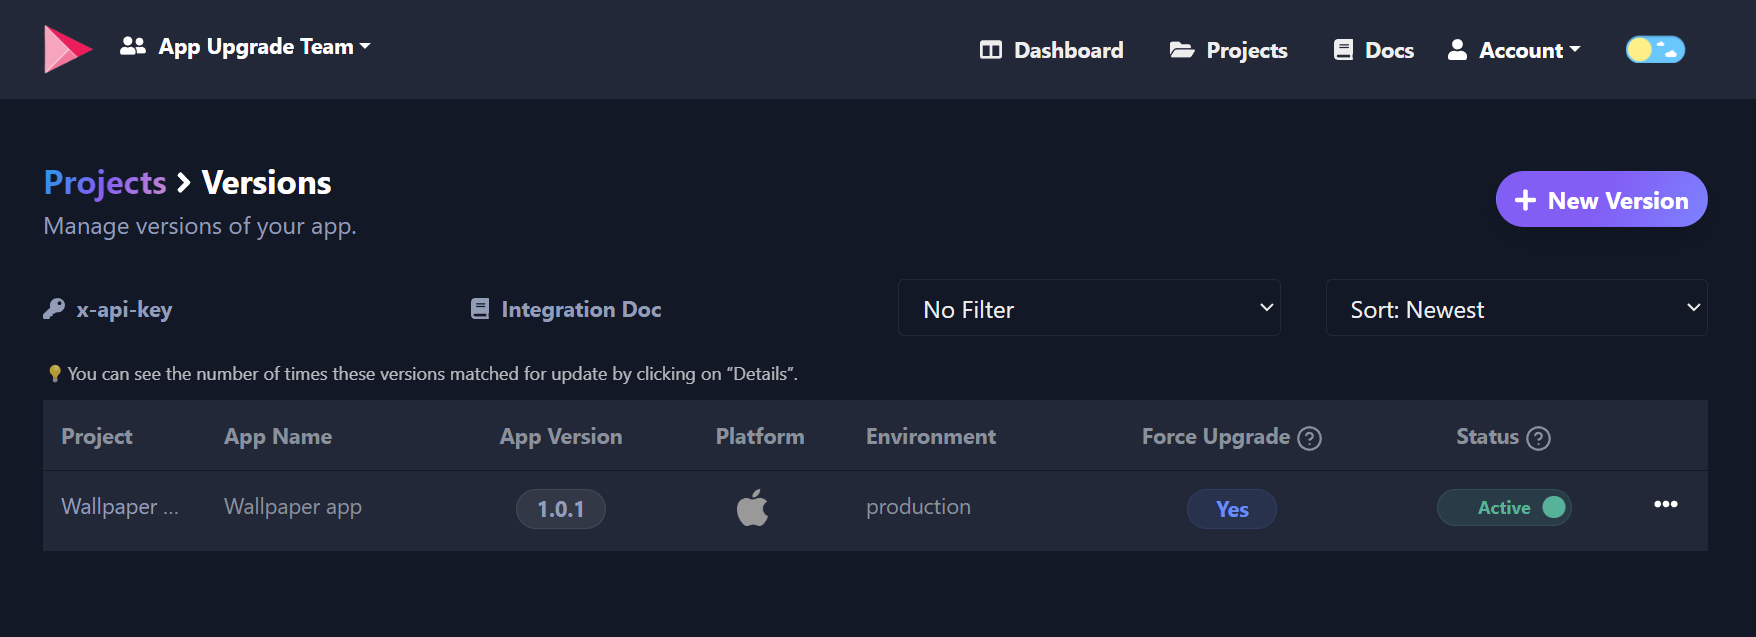
Reload your Flutter app. SDK will check if an upgrade is required or not and show an alert popup.
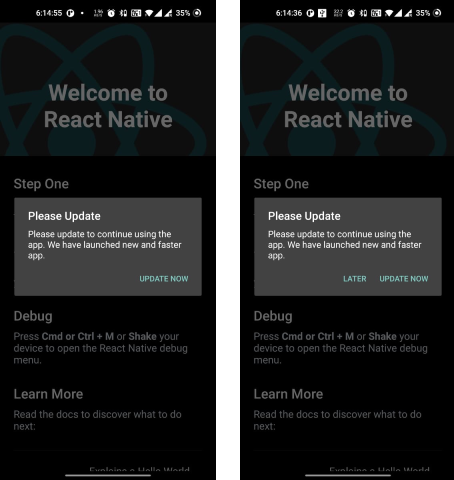
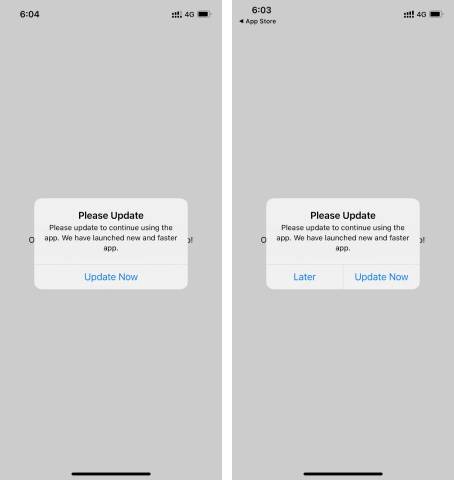
7. Upgrade Alert popup
Based on the value of Force Upgrade the SDK will show a dismissable alert popup or a forced upgrade non-dismissable alert popup as shown below.
Android
For force upgrade, only the Update button is enabled and the user cannot skip it. For recommended upgrades, the Update and Later buttons are enabled. Users can skip it.
iOS
Conclusion
We learn how to set up App Upgrade to force users to upgrade the Expo apps. To know more about App Upgrade visit: https://appupgrade.dev Also, Check out App Upgrade Documentation to understand how it works.
You can find a sample app from here app_upgrade_expo_demo_app
Thanks for reading.
- If you have any queries write to us here.
- Follow us on Twitter for announcements.
- Subscribe on YouTube for demos and tutorials.
- Star us on Github to see what we are building.
Need help?
If you're looking for help, try our Documentation or our FAQ. If you need support please write to us at support@appupgrade.dev